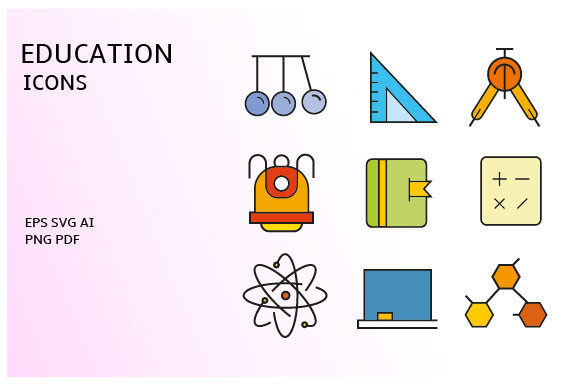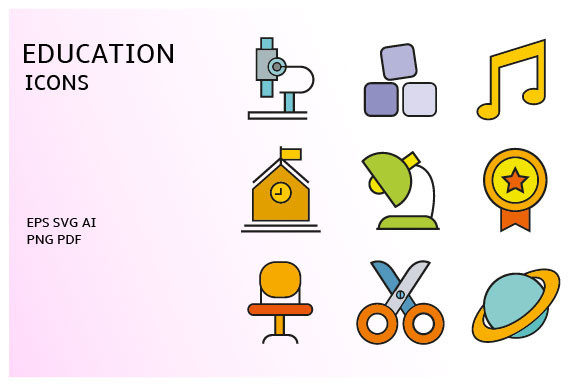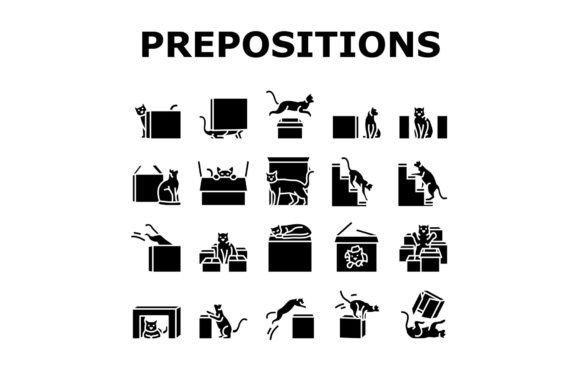
Mastering Visual Grammar: A Practical Guide to the Preposition English Language Icons Set
Visual communication is no longer just an aesthetic choice; it is a fundamental component of effective learning and digital engagement. Whether you are an educator designing preschool vocabulary cards, a marketer creating social media graphics, or a developer building an educational app, clarity is paramount. This is where the Preposition English Language Icons Set becomes an invaluable resource. These glyph pictogram illustrations provide a standardized, clean way to represent spatial relationships—such as "behind," "under," and "in"—which are often difficult to convey through text alone for early learners or non-native speakers.
However, simply downloading a pack of icons is not enough. Many creators make critical errors in how they select, format, and apply these visual assets. Understanding the nuances of vector graphics versus raster images, and knowing how to integrate these symbols into your workflow, can save you hours of redesign work and significantly improve the quality of your final product.
The Trap of Ignoring File Formats
One of the most common mistakes beginners make is overlooking the technical specifications of the icon set. You will often see these assets offered in multiple formats, typically JPG and EPS. Choosing the wrong format for your specific use case can lead to pixelation, bloated file sizes, and editing limitations.
A JPG is a raster image, meaning it is made of pixels. If you use a JPG for a large banner or print material, it will become blurry when scaled up. This is acceptable for quick web previews but disastrous for professional printing or high-resolution displays. On the other hand, the preposition english language icons set vector files (EPS) are mathematically defined paths. They can be scaled to any size without losing quality. If you are creating materials for both mobile screens and classroom posters, always start with the EPS vector files. This ensures that your "box" and "ball" illustrations remain crisp whether they are one inch or ten feet wide.
Misunderstanding Semantic Clarity
Another frequent oversight involves the design logic of the icons themselves. Prepositions are abstract concepts that rely heavily on context. A poorly designed icon might show a ball "near" a box, but fail to clearly distinguish it from "beside" or "next to." When using a learning preposition english language glyph pictogram Illustrations pack, you must verify that the visual distinction between similar concepts is sharp.
For instance, consider the difference between "under" and "below." In casual conversation, these are interchangeable, but in strict grammatical or spatial teaching, they may have different implications. High-quality icon sets use consistent visual cues, such as dashed lines for hidden objects or specific shading to indicate depth. If the icons you choose lack these subtle cues, your audience—especially preschoolers or ESL students—may become confused rather than educated. Always preview the entire set to ensure consistency in style and logical clarity before committing to a purchase.
Overlooking Educational Context
Educators and content creators often forget that icons do not exist in a vacuum. They are part of a broader pedagogical strategy. Using a position place, education school, preschool vocabulary icon set requires an understanding of cognitive load. If your icons are too detailed or cluttered, they distract from the lesson. The strength of glyph pictograms lies in their simplicity.
A common error is adding unnecessary decorative elements to these icons. For example, adding complex textures to the "box" or realistic fur to the "cat" can shift the focus from the spatial relationship to the object itself. The goal is to teach the preposition, not the noun. Stick to clean, minimalist designs that highlight the relationship between objects. This approach reduces cognitive friction and helps learners grasp the concept of "behind" or "on top of" more quickly.
Legal and Licensing Oversights
Before you download or buy any asset, you must check the licensing terms. Many free icon sets come with restrictive licenses that prohibit commercial use or require attribution. If you are a freelancer or small business owner creating materials for clients, using an improperly licensed icon can lead to legal issues down the line. Always read the fine print. Look for sets that offer clear commercial rights if you intend to use them in products you sell or in client work.
Additionally, consider the longevity of your project. If you are building a long-term educational platform, ensure that the icon set you choose is comprehensive enough to grow with your needs. Buying multiple disjointed sets from different designers can result in inconsistent line weights and styles, which looks unprofessional. It is often better to invest in a single, cohesive Preposition English Language Icons Set that covers a wide range of spatial relationships than to piece together mismatched graphics.
Best Practices for Implementation
To get the most out of these resources, follow these practical steps:
- Start with Vectors: Always download the EPS files first. Convert them to JPG or PNG only at the final stage of your design process, and only if necessary for web optimization.
- Test for Scalability: Zoom in to 400% on your screen. If the edges look jagged, you are likely working with a raster image or a low-quality vector. Ensure your lines remain smooth.
- Maintain Consistency: Use the same stroke width and color palette across all icons in your project. If the icon set allows for customization, adjust the colors to match your brand or classroom theme.
- Contextualize with Text: While icons are powerful, they work best when paired with clear text labels. Use the icon to reinforce the word, not replace it entirely, especially for beginners.
By avoiding these common pitfalls and focusing on clarity, format, and context, you can leverage the Preposition English Language Icons Set to create engaging, professional, and effective educational materials. Whether you are teaching a child their first spatial words or designing a sophisticated app interface, the right visual tools make all the difference.